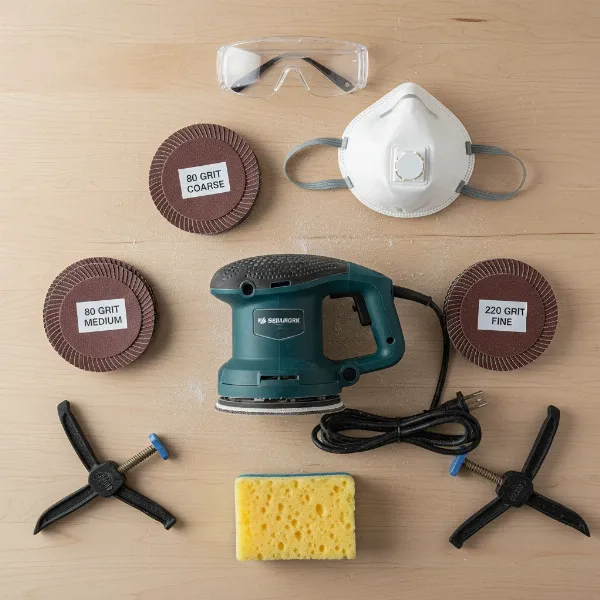
Yellow stains on your beloved plastic cutting boards are more than just an aesthetic issue; they can be a sign of ingrained food particles and bacteria. Over time, vibrant spices like turmeric, tomato sauces, and even everyday use can leave stubborn yellow marks, making your kitchen essentials look worn and unhygienic. But before you banish that board to the recycling bin, there are effective and safe methods to bring back its pristine appearance. This guide will walk you through proven techniques, from cautious bleach application to natural alternatives, ensuring your cutting boards are not only clean but also safe for food preparation.
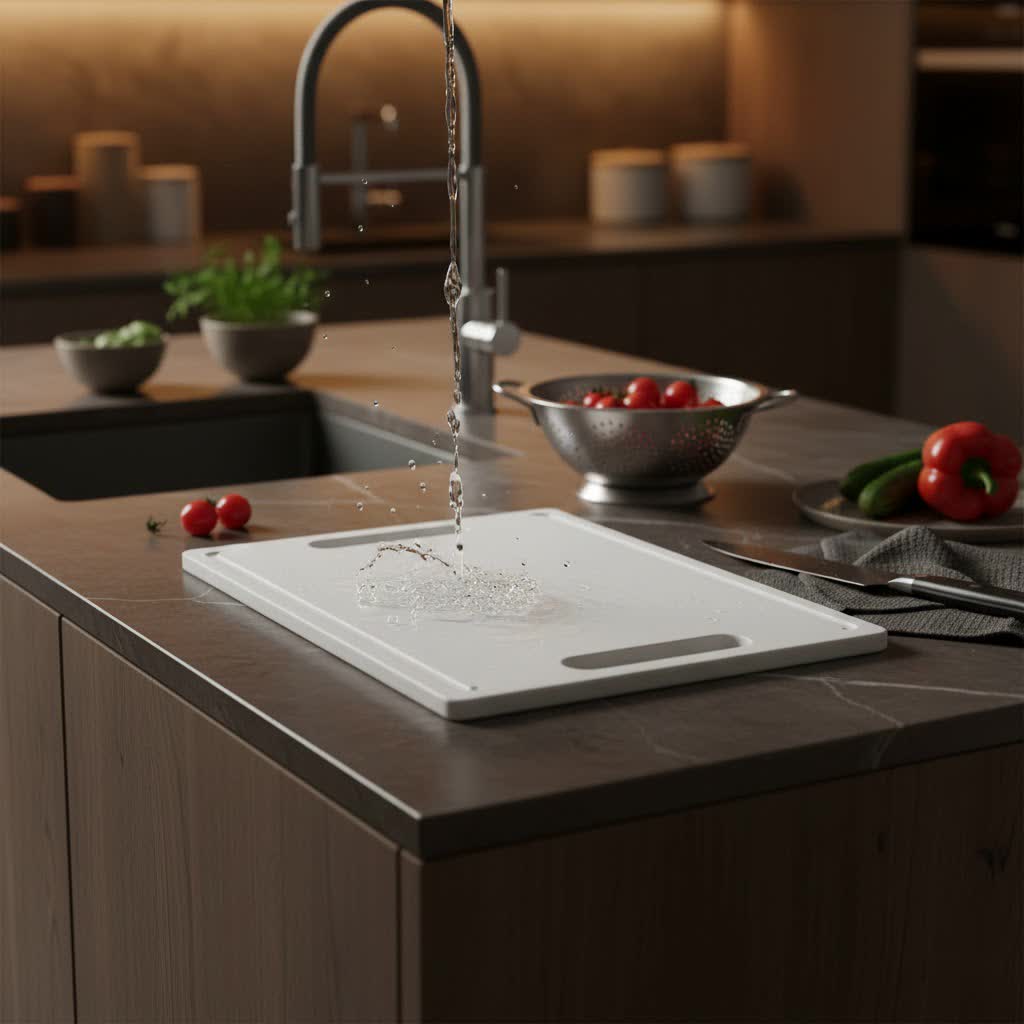
Understanding Why Plastic Cutting Boards Turn Yellow
Plastic cutting boards, particularly those made from polyethylene (PE) or high-density polyethylene (HDPE), are renowned for their durability and non-porous surface, making them a popular choice for home cooks and professional chefs alike. However, their light color can easily betray the effects of daily use.
The primary culprits behind yellowing are often food pigments. Curcumin from turmeric, carotenoids from carrots and tomatoes, and other vibrant compounds can seep into microscopic scratches and imperfections on the board’s surface. Over time, these pigments accumulate, creating a visible yellow or orange tint. Beyond food, exposure to ultraviolet (UV) light can cause plastics to degrade, leading to a process called photo-oxidation which also manifests as yellowing. Furthermore, general wear and tear, coupled with improper cleaning, can exacerbate the problem, making these stains seem permanent. Understanding these causes helps in choosing the most appropriate and effective cleaning strategy.
Prioritizing Safety When Using Bleach on Cutting Boards
While bleach can be a powerful ally against stubborn yellow stains, its potent chemical nature necessitates strict safety measures. Always prioritize personal protection and proper handling to avoid adverse reactions or damage to your cutting board.
Essential Safety Precautions:
- Ventilation is Key: Work in a well-ventilated area, such as near an open window or with an exhaust fan running, to disperse fumes.
- Protective Gear: Wear rubber gloves to protect your skin from irritation and safety goggles to shield your eyes from splashes. Consider a respirator mask if working in a poorly ventilated space.
- Dilution is Crucial: Never use undiluted chlorine bleach directly on your cutting board. Always dilute it with water to prevent damage to the plastic and reduce fume intensity.
- Patch Test: Before applying any bleach solution to the entire board, test it on an inconspicuous area first. This helps ensure the plastic won’t discolor, become brittle, or react negatively.
- Avoid Mixing: Never mix chlorine bleach with other cleaning agents, especially ammonia, as this can produce dangerous toxic gases.
Method 1: Harnessing the Power of Diluted Chlorine Bleach
For deeply ingrained yellow stains, a diluted chlorine bleach solution can be highly effective. This method works by oxidizing the staining compounds, effectively breaking them down and lightening the plastic.
What You’ll Need:
- Chlorine bleach (regular household bleach, typically 5-6% sodium hypochlorite)
- Water
- A non-metallic basin or sink
- Stiff-bristled brush or sponge
- Dish soap
Step-by-Step Process:
- Prepare the Solution: In a non-metallic basin, mix 1 tablespoon of chlorine bleach with 1 cup (240 ml) of water. Scale up the quantity as needed to cover your cutting board.
- Submerge the Board: Carefully place your stained plastic cutting board into the solution, ensuring the yellowed areas are fully submerged.
- Soak Time: Allow the board to soak for 1 to 2 hours. For very stubborn stains, you might extend this to a maximum of 3-4 hours, but monitor the board closely.
- Scrub and Rinse: After soaking, remove the board and scrub it thoroughly with a stiff-bristled brush or sponge and plenty of hot, soapy water. This helps remove any remaining bleach residue and loosened stains.
- Rinse Extensively: Rinse the cutting board under running water for several minutes to ensure all traces of bleach are gone. Any lingering bleach scent indicates more rinsing is needed. Air dry the board completely.
“When using bleach on cutting boards, thorough rinsing is paramount. Residual bleach can contaminate food, so always err on the side of caution with an extended wash.”
Method 2: The Gentle Power of Hydrogen Peroxide
Hydrogen peroxide, often found in 3% solution, offers a less aggressive alternative to chlorine bleach while still being effective against yellow stains. It’s particularly useful for those who prefer to avoid chlorine-based cleaners.
What You’ll Need:
- 3% hydrogen peroxide
- Baking soda
- Dish soap (optional)
- A non-metallic container or plastic wrap
- Sunlight (optional, but highly effective)
Step-by-Step Processes:
Option A: Hydrogen Peroxide Soak with Sunlight
- Prepare the Board: Clean your cutting board with soap and water to remove any surface debris.
- Apply Hydrogen Peroxide: Pour enough 3% hydrogen peroxide into a shallow tray or container to cover the yellowed areas of your cutting board.
- Sunlight Activation: Place the container with the cutting board in direct sunlight for 3 to 4 hours. The UV rays from the sun act as a catalyst, enhancing hydrogen peroxide’s bleaching action. Periodically turn the board to ensure even exposure.
- Rinse Thoroughly: Once done, remove the board and wash it thoroughly with warm, soapy water, then rinse under clear running water.
Option B: Hydrogen Peroxide and Baking Soda Paste
- Create the Paste: In a small bowl, mix 3 to 4 tablespoons of baking soda, 1 tablespoon of dish soap, and 1 to 2 tablespoons of 3% hydrogen peroxide. Adjust the quantities to form a thick, spreadable paste.
- Apply to Stains: Spread the paste generously over the yellowed areas of your cutting board.
- Let it Sit: Allow the paste to sit on the board, ideally overnight (8-12 hours), to work its magic.
- Scrub and Rinse: The next morning, scrub the board with a brush or sponge, then rinse thoroughly with warm, soapy water. This method has been noted to significantly lighten even stubborn stains.
Method 3: Effective & Safer Alternatives for Lighter Stains
For milder yellowing or as a regular maintenance treatment, several natural and less abrasive methods can restore your board’s brightness without resorting to harsh chemicals.
1. White Vinegar Soak:
White vinegar is a natural disinfectant and mild acid that can tackle many food stains. Mix equal parts white vinegar and water in a basin. Submerge your cutting board and let it soak for 2-3 hours. The vinegar helps break down stain molecules. Afterward, wash with dish soap and rinse well. The vinegar smell will dissipate as it dries.
2. Baking Soda, Salt, and Lemon Paste:
This common kitchen trio creates an effective, gentle abrasive.
- Ingredients: 1 teaspoon baking soda, 1 teaspoon salt, 1 teaspoon water, and a squeeze of fresh lemon juice.
- Process: Mix to form a paste. Apply the paste to the stained areas, gently scrub, and let it sit for about an hour. The baking soda provides abrasion, salt acts as a scrubber, and lemon juice offers mild bleaching and a fresh scent. Rinse thoroughly with warm, soapy water.
3. Lemon and Salt Scrub:
For an even simpler approach, sprinkle coarse salt liberally over the stained areas of your board. Cut a lemon in half and use it to scrub the salt into the plastic, squeezing juice as you go. The salt acts as an abrasive, while the citric acid in the lemon helps lift and bleach stains. Let it sit for 15-20 minutes, then scrub and rinse.
Maintaining Your Plastic Cutting Board to Prevent Stains
Prevention is always better than cure. Adopting a few simple habits can significantly prolong the life and pristine appearance of your plastic cutting boards.
- Immediate Cleaning: Wash your cutting board immediately after each use, especially after cutting highly pigmented foods like beets, carrots, or turmeric. Don’t let stains set.
- Hot, Soapy Water: Always wash with hot, soapy water. A good scrub can remove food particles before they have a chance to stain.
- Dishwasher Safe Boards: If your board is dishwasher-safe, utilize the high temperatures and powerful detergents to your advantage.
- Deep Cleaning Routine: Incorporate a monthly deep clean using one of the methods above, even if no visible stains are present, to prevent accumulation.
- Proper Storage: Store boards upright or in a dry, airy place. Avoid storing them flat against surfaces where moisture can linger.
When to Consider Replacing Your Cutting Board
While stain removal can work wonders, plastic cutting boards do not last forever. Knowing when to replace yours is crucial for kitchen hygiene and safety.
- Deep Grooves and Scratches: Over time, knife blades create deep grooves where bacteria can harbor, making thorough cleaning difficult. Once these grooves are significant, it’s time for a new board.
- Persistent Odors: If your board retains odors even after vigorous cleaning, it’s likely that food particles have penetrated too deeply, indicating it’s time for replacement.
- Cracks or Warping: Cracks and warping can also create breeding grounds for bacteria and compromise the board’s stability during use.
- Beyond Repair Yellowing: If, after trying various methods, your board remains discolored due to age or irreversible UV damage, a new board will offer better hygiene and aesthetics.
Conclusion
Tackling yellow stains on your plastic cutting boards doesn’t have to be a daunting task. By understanding the causes of discoloration and applying the right techniques, you can restore your boards to a clean, hygienic, and bright condition. Whether you opt for the powerful oxidizing action of diluted chlorine bleach, the gentler yet effective hydrogen peroxide, or the natural cleaning prowess of vinegar, baking soda, and lemon, safety and thoroughness are key. Remember to always prioritize ventilation and protective gear when using stronger chemicals, and commit to regular maintenance to prevent future staining. A well-maintained cutting board is a cornerstone of a clean and efficient kitchen, ready for all your culinary adventures. What method will you try first to rejuvenate your plastic cutting boards?
Frequently Asked Questions
Can I use bleach on all types of plastic cutting boards?
|
Our Picks for the Best Plastic cutting board in 2026
As an Amazon Associate I earn from qualifying purchases.
|
||
| Num | Product | Action |
|---|---|---|
| 1 | KitchenAid Classic Cutting Board with Perimeter Trench and Non Slip Edges, Dishwasher Safe, 11 inch x 14 inch, White and Gray |

|
| 2 | OXO Good Grips Plastic Utility Cutting Board |
|
| 3 | FARBERWARE Extra-Large Plastic Cutting Board, 15x20 Inch Dishwasher-Safe Chopping Board with Juice Groove, Non-Slip Surface, Durable, White |
|
| 4 | Extra Large Cutting Boards, Plastic Cutting Boards for Kitchen (Set of 3) Cutting Board Set Dishwasher Chopping Board with Juice Grooves Easy-Grip Handles, Dark Grey, Empune |
|
| 5 | FARBERWARE Reversible Plastic Cutting Board, 8x10 Inch, White, Dishwasher Safe, Non-Porous and Durable for Chopping, Slicing, Prep, Easy to Store |
|
| 6 | GORILLA GRIP BPA-Free Reversible Kitchen Cutting Board Set of 3, US Designed, Nonporous, Juice Grooves Catch Liquid, Slip Resistant Border, Dishwasher Safe, Durable Large Food Chopping Boards, Black |
|
| 7 | THETCHRY Plastic Cutting Board Set of 3-Cutting Boards for Kitchen BPA Free, Large-Small Chopping Boards Non-Slip for Cooking Camping Dishwasher Safe, Reversible, with Grip Handle, 15"×10"×0.25" Green |
|
| 8 | Goodluck 5 Pieces Flexible Cutting Boards, BPA Free Plastic Cutting Boards for Kitchen, Non Slip Cutting Mat for Meat and Vegetables |
|
| 9 | Farberware Large Cutting Board, Dishwasher- Safe Plastic Chopping Board for Kitchen with Easy Grip Handle, 11-inch by 14-inch, White |
|
| 10 | Commercial Grade Plastic Cutting Board 18 x 12 x 1/2 Thick High Density White Poly, NSF Certified and Dishwasher Safe for Food Service |
|
While diluted chlorine bleach is generally safe for polyethylene (PE) and high-density polyethylene (HDPE) cutting boards, it’s always best to perform a patch test on an inconspicuous area first. Some plastics may react differently, potentially leading to discoloration or damage.
How often can I bleach my plastic cutting board?
Bleaching should be done only when necessary for stubborn stains. For regular cleaning and maintenance, gentler methods like hot soapy water, vinegar, or baking soda pastes are preferred to prolong the life of your board and reduce chemical exposure.
Will bleaching my cutting board make it safe from bacteria?
Bleaching can sanitize your cutting board by killing bacteria. However, it’s crucial to follow proper dilution ratios and rinse thoroughly. For everyday disinfection, a hot, soapy wash or a diluted vinegar solution is often sufficient. Deep grooves on a board can still harbor bacteria even after bleaching, indicating it might be time for a replacement.
Can old, age-related yellowing be removed with bleach?
Yellowing due to age or prolonged exposure to UV light often signifies a breakdown in the plastic’s chemical structure and may be permanent. While bleach or hydrogen peroxide can sometimes lighten it, complete restoration might not be possible for deeply aged plastic.
What if my cutting board still smells like bleach after rinsing?
If your cutting board retains a bleach smell, it means there is still residue present. Continue rinsing it under running water, scrubbing with dish soap, and allow it to air dry completely. Sometimes, an additional soak in a diluted white vinegar solution followed by another rinse can help neutralize the odor.